Wall and ceiling work for Kenosha County homes
Drywall repair in Pleasant Prairie that starts with a clear plan
A crack running up from a door corner. A tea-colored ring overhead in the bedroom. A soft patch low on a basement wall. Each one is a manageable job once the cause is clear. We look first, explain what we find, and rebuild the wall so it matches the room again.
Stop the drip before touching drywall
Water sends more walls past the quick-patch stage than anything else. The first hours are simpler than they feel. You can handle most of them yourself, and the order matters more than speed. Start at the source and work toward the wall.
Shut off the source
Close the valve at the fixture, or the main if you can't find one. If the water came through a ceiling after a thaw, the problem is likely on the roof, so a roofer handles that part. Set a bucket under any drip. A ceiling that bulges with water can be eased by poking a small hole at its lowest point, so it drains in one spot. Next, move rugs and furniture back from the wet area.
Dry the room on purpose
Run fans across the wet wall and a dehumidifier with the door closed. Pull the baseboard off so air can reach the bottom edge, where water collects. Give it several days. Board that looks dry on the face can still hold moisture under the paint, so the next step is to measure.
Measure the moisture, not the look
A moisture meter tells you what your eyes can't. Take a reading on the wet wall and another on a dry wall in the same room. When the numbers match, the board has dried out. If the wet side stays high after a few days of drying, something behind it is still wet, and that is the point to open the wall.
Decide what gets cut out
Board that dried flat and firm can usually stay, with a stain-blocking primer over the mark. Board that is soft, crumbly, swollen at the seams, sagging or musty comes out. We cut in a straight line above the wet edge, let the cavity dry, replace soaked insulation and hang new board. For the full sequence, read our step-by-step leak recovery guide.
Match the board, mud and texture
A repair disappears when it is built from the same materials as the wall around it. That means the right board, the right compound for each coat, and a texture that fades out at the edges. Here is what gets sorted out before the first cut.
Board thickness and type
Most interior walls use half-inch gypsum board. Ceilings may use a sag-resistant half-inch panel or thicker 5/8-inch board, and the wall a house shares with its attached garage often uses fire-resistant Type X. Basements and bathrooms sometimes have moisture-resistant board with a colored face. We measure the edge of the opening and match it, so the new piece sits flush with no step to bury under extra compound.
Joint compound, coat by coat
Setting compound starts as a dry powder stirred into a bucket. It cures through a chemical set rather than by drying out, so it shrinks very little. That makes it the right pick when a gap is deep or a patch must be taped the same day. Premixed all-purpose and lightweight compounds sand easier and suit the finish coats. Using the right one for each pass is how a repair stays free of new cracks.
Smooth walls and sprayed textures
Smooth walls need careful skim coats and sanding, because light from a window will show any edge. Orange peel is sprayed in fine droplets. Knockdown goes on heavier and is flattened with a wide blade. Ceilings may carry a light spray or a sand finish. We test the texture on scrap board first, then spray across the patch and fade it into the old surface.
Plaster in the oldest cottages
A few of the earliest lakeshore cottages may still have plaster over wood lath. Plaster needs its own method: a bonding coat at the edges and a different build-up to reach the old surface. Not sure what your walls are made of? That is easy to check on the first visit.
Pick the repair that fits your wall
Most calls fall into four groups. Choose the one closest to what you see. Each page covers likely causes, how the fix goes, and what you can do next.
Crack and Nail Pop Repair
Seams that split, screw heads pushing through paint, and diagonal cracks over doors, mostly in newer houses.
Ice Dam Ceiling Stain Repair
Brown rings and soft spots on top-floor ceilings after roof snow melts, backs up at the eaves and finds a way in.
Basement Water Damage Repair
Wet lower walls after seepage, a sewer backup or a sump that quit: cut out, dried and rebuilt.
Drywall Hole Patching
Doorknob dents, impact holes and openings left behind by other trades, closed up and blended in.
Choose your problem to get started
Two quick steps. Pick the closest match below and the request form opens with it already chosen. Then add a few details and send it.
Plan turnovers around the wall work
Rentals collect small wall damage: a missing doorstop, anchors from a TV mount, a closet door that slammed one too many times. Fixing it between tenants is easy to plan once every spot is on one list. Start with a walk-through and a note for each room.
Batch every room into one visit
Group all the patches in a unit into a single trip. Compound has to dry between coats, so we set the first coat in every room, then come back for the next pass. That keeps a two-bedroom turnover to a short, predictable window instead of scattered trips across a week.
Sort out access and keys
Tell us whether the unit is empty, how we get in, and where to park. A lockbox code or a set meeting time both work. If a tenant still lives there, we keep the work to one room at a time and pack up the drop cloths at the end of each day.
Give tenants the notice your lease requires
Occupied units usually need advance notice before anyone comes in. Follow your lease and local rules. Send the notice once you have our date, and list the rooms involved so furniture can be pulled away from the walls ahead of time.
Keep a paint record for each unit
Write down the paint line, color name and sheen used in every unit. Touch-ups then blend on the first coat. Without that record, we prime the patches and the wall gets painted corner to corner, which hides any color shift.
Close the walls once trades finish
An electrician adding a circuit, a plumber reaching a valve, an installer running network cable. Each may leave an opening behind. They finish their part and move on to the next house. The wall comes last, and it is a manageable step.
Electrical boxes and wire runs
Cut-ins for new outlets and switches often leave ragged board around the box. We square the edge, add backing where there is nothing behind the board, and patch tight to the box so the cover plate sits flat against the wall.
Plumbing access openings
If the plumber may need to come back, ask about a removable access panel instead of a sealed patch. Otherwise we fasten wood backing inside the opening, set a new piece of board, then tape and finish it to match.
Heating and duct changes
New registers and rerouted ducts leave rectangular openings near the floor or ceiling. We frame the edges where needed and carry the ceiling texture across the patch, so the new grille is the only thing you notice.
Low-voltage and cable pulls
Small round holes from cable, alarm or speaker wire are easy to close. Wait until the installer has tested everything. Then we fill, sand and prime them all in a single pass.
Look at when your street was laid out
Pleasant Prairie became a village in 1989, but its streets come from very different eras. When a house went up shapes what sits behind the paint. Find your part of the village below, then plan the repair around it.
Chiwaukee
This lakeside corner of Carol Beach was plotted in the 1920s. Houses from those early decades may have plaster, wood lath, or walls patched many times over by past owners. We confirm the wall material first, because plaster takes a different repair than gypsum board.
Carol Beach
The rest of Carol Beach was subdivided starting in 1947, on the strip between Lake Michigan and Sheridan Road just north of the state line. Mid-century homes here often mix original walls with drywall added during later remodels. Blending the two surfaces is a common part of the job.
Newer subdivisions
Away from the lakeshore, many streets are lined with newer subdivision homes: gypsum board, taped seams, sprayed ceilings. Framing lumber in a new house keeps drying after the first owners move in. That is why nail pops and seam cracks show up so often here, and why they are usually simple to fix.
Trace each symptom to its likely culprit
Your wall leaves clues. Find the closest description in the table, then follow the link to the repair that fits. When two symptoms show up together, start with the one that involves water.
| What you see | Likely cause | Where to go next |
|---|---|---|
| Small round bumps or screw heads showing through paint | Framing lumber shrinking as it dries and pushing fasteners out | Fixing popped fasteners |
| Straight crack along a seam or an inside corner | Tape that lost its bond, or seasonal movement between boards | Re-taping split seams |
| Slanted line climbing away from a door or window corner | Settling at the weak spot above an opening | Cracks over doors and windows |
| Brown ring near an outside wall on the highest floor, after a thaw | An ice dam at the eaves pushing meltwater under shingles | Ice dam stain repair |
| Ceiling sagging between the framing | Water weight, or fasteners that let go | Sagging ceiling panels |
| Bubbled paint or a soft, swollen strip low on a wall | Moisture wicking up from the floor, or a leak behind the board | Water-damaged drywall below grade |
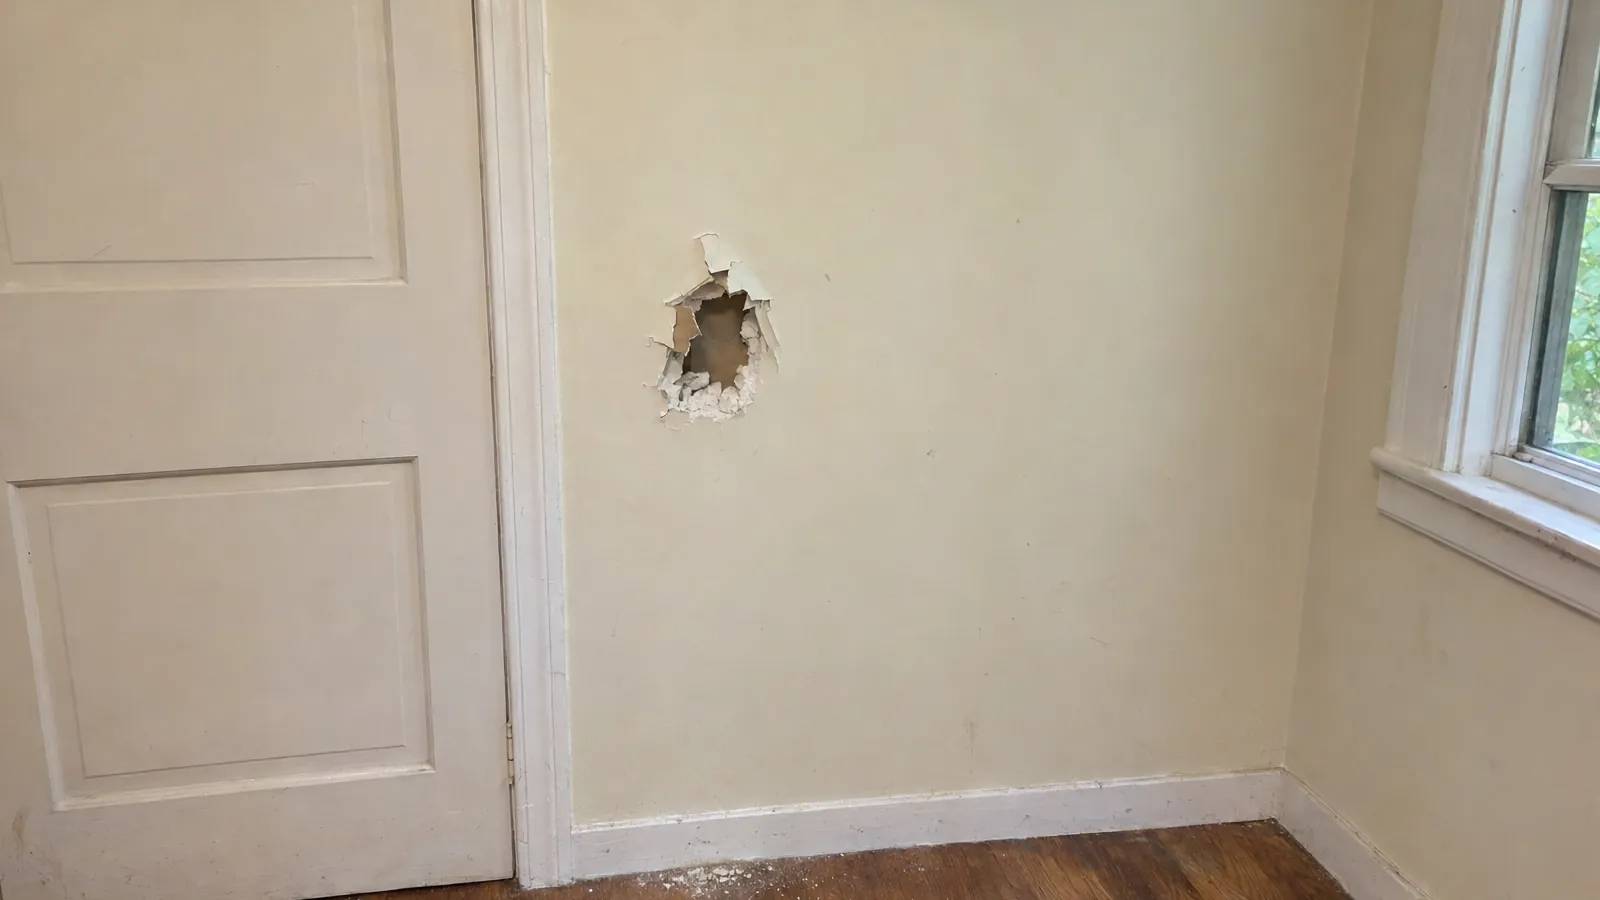
| A fist-sized or doorknob-sized hole | Impact, or a door swinging without a stop | Drywall patching for holes |
Prime every patch before painting
A patch can be flat, smooth and invisible, then show up again once the paint dries. That is called flashing. It is easy to prevent when you know why it happens, so here is what to plan for.
Why patches show through paint
Fresh compound soaks up paint differently than painted board does. The patched area dries duller or shinier than the wall around it. A coat of primer seals the compound, so the finish coat dries to one even sheen across the whole surface.
Sheen changes the plan
Flat and matte paints hide small flaws best. Eggshell and satin show more. On a satin wall, plan to paint from corner to corner instead of dabbing paint on the patch alone.
Who handles the paint
We prime every repair. You can paint it yourself the next day, or we can roll the whole wall while we are there. Keep the leftover can handy if you have one, because the label on the lid helps match the color.
Blending texture at the edges
Texture goes on before primer. We carry it past the patch so there is no ridge where new meets old, and let it dry fully before the primer coat goes on.
Size up what makes a job bigger
No two repairs are the same size, so we look before we put a plan together. These are the things that move a job up or down. Use them to describe yours when you call, and the first conversation gets easier.
How big the damaged area is
A nail hole takes minutes. A doorknob hole needs a backed patch. A half sheet or full sheet means new board, more tape and more drying time between coats. The scale above shows how fast the area grows from one step to the next.
Wall or ceiling
Ceiling work takes longer. Overhead sanding, more floor protection and texture sprayed upward each add a step to the day.
Access and furniture
A clear wall is quick to reach. Tall stairwells, built-in shelving and heavy furniture take setup time. Moving what you can before the visit shortens the day.
Texture and finish level
A smooth wall lit from the side needs more skim coats than an orange peel wall. Matching a heavy knockdown adds a spray step of its own.
Moisture behind the board
Wet insulation, mold on the back of the panel, or a leak that is still active all change the plan. We find and stop the cause first, then rebuild.
Paint at the end
Priming only, or priming plus painting the full wall, changes how long the last visit runs.
Check the towns near the village
The work centers on Pleasant Prairie and reaches the communities around it on both sides of the state line. Here is a short version. The page of nearby towns has a little more on each one.
- Kenosha. The city directly north of the village, on the same stretch of Lake Michigan shore.
- Bristol. About four miles west, a village formed in 2009 from parts of the old town.
- Somers. A Kenosha County village a short drive north, with I-94 crossing its northwest corner.
- Paddock Lake and Salem Lakes. Lake villages farther west in the county.
- Winthrop Harbor and Zion. Just over the Illinois line along the lakeshore.
Try the small fixes yourself first
Plenty of wall repairs are easy to do with a putty knife and a free afternoon. Start there when the damage is small. Call when the signs further down show up.
Jobs you can handle
Nail holes, thumbtack marks, a single popped screw, and a hairline crack along an inside corner. Fill holes with lightweight spackle. For a popped screw, drive a new screw about an inch and a half away, then set the old one back in and cover both. Let it dry, sand lightly, prime, then paint.
What you need on hand
A 6-inch knife, a sanding sponge, a small tub of premixed compound, primer, and patience between coats. Thin coats dry faster and sand easier than one thick one.
When to hand it off
A hole bigger than your hand, a crack that keeps coming back or grows wider, a ceiling that sags, a stain that bleeds through primer, soft or crumbling board, or a musty smell. Those point to a cause behind the wall. Call the office and describe what you see.
Want more reading before you pick up a knife? Browse the wall repair tips and guides.
Plan your visit with the office
Ready for the next step? Call or set up a visit online. The office gets a quick picture of the wall and books a time that works, and we look before recommending anything.
- Phone
- (262) 360-5472
- Hours
- Open 7 days, 7am–9pm